 Bellingham
 Building New in Edgemoor Means Building for the Weather You Actually Get
Edgemoor sits close enough to Bellingham Bay that homes here deal with a different set of conditions than a new build inland. Salt-laden air moves off the water, wind-driven rain hits certain elevations and orientations harder than others, and the long wet season keeps everything shaded or north-facing damp for months at a time. When you're framing a new home or a major addition, the windows you choose and how they're installed set the tone for how that house performs for the next 20-30 years. Get the window opening wrong at the framing stage and you're not fixing a cosmetic issue later — you're fixing rot.
We install new-construction windows across Whatcom County, and Edgemoor jobs get treated differently than a build in, say, a more protected inland pocket. The window unit matters, but the flashing, the weather-resistive barrier integration, and the sequencing with other trades matter just as much — arguably more, since a good window installed wrong will still leak, and a mediocre window installed correctly will usually outperform it.
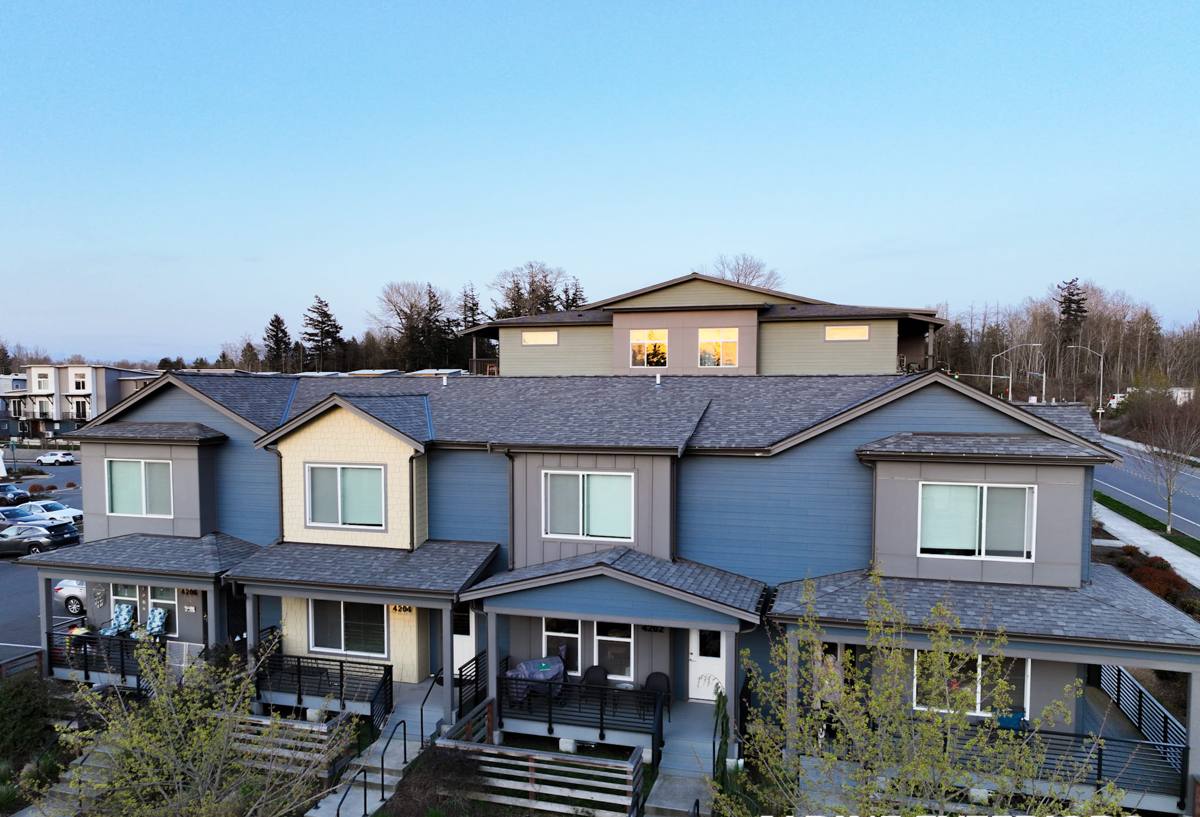
What Bellingham's Coastal Climate Actually Does to a New Window Assembly
Before we talk product or process, it's worth being specific about what we're building against, because "coastal Pacific Northwest" covers a lot of different failure modes.
Salt Air and Metal Components
Salt air accelerates corrosion on unprotected or lower-grade metal — hinges, cranks, screws, cladding fasteners, and weep hole covers. On homes closer to the water, we pay attention to hardware finish and fastener material specifically because standard-grade components can start showing corrosion years earlier than they would a few miles inland.
Wind-Driven, Not Just Vertical, Rain
A lot of window failures in this region aren't from rain falling straight down — they're from rain being pushed sideways and upward under exposure, especially on second stories, gable ends, and west or southwest-facing walls that catch the prevailing weather. That means sill pan flashing and head flashing details that would be adequate in a drier climate aren't always enough here.
Moss, Shade, and Sustained Dampness
Whatcom County's long wet season means shaded elevations of a house can stay damp for extended stretches, which is exactly the environment moss and mildew need. On a new build, that affects decisions like trim material, whether we're sealing or venting certain details, and how much drainage capacity we build into the rough opening — not just the window itself.
Getting the Rough Opening Right Before the Window Ever Shows Up
On a new-construction job, the window installation actually starts during framing, not on delivery day. A correctly sized, correctly flashed rough opening is what determines whether the window performs for decades or starts showing water staining inside five years.
The Flashing Sequence That Actually Sheds Water
We follow a shingle-style, water-shedding sequence: sill pan flashing installed first with a slight outward slope so any water that gets past the window drains back out rather than pooling, side flashing lapped over the sill pan, the window set and fastened per manufacturer spec, then head flashing lapped over the top of the window and integrated with the weather-resistive barrier above it. Every layer overlaps the one below it, so water is always directed outward and down — never trapped behind the cladding.
Coordinating with Framers and Other Trades
New-construction windows aren't installed in isolation. Rough opening dimensions need to match the actual window unit (not just the plan set), the WRB has to be sequenced correctly with the window flashing instead of just wrapped around it afterward, and siding or trim crews need clear guidance on how their work ties into the window flashing. When we're on a job from framing through final trim, we control that whole sequence instead of hoping the next trade reads the same plan the same way we did.
Choosing the Right Window Frame Material for an Edgemoor Build
There's no single "best" frame material — it depends on budget, exposure, and how much upkeep the homeowner wants to take on. Here's how the common options stack up for this specific climate:
| Frame Material | How It Handles This Climate | Maintenance | General Cost Position |
|---|---|---|---|
| Vinyl | Good moisture and corrosion resistance; performs well on most elevations | Low — occasional cleaning | Most affordable |
| Fiberglass | Very stable in temperature swings and damp conditions; strong long-term option | Low | Mid to upper range |
| Wood-clad | Attractive interior wood look; clad exterior needs correct detailing to keep moisture out of the wood core | Moderate — exterior clad is low, but any exposed wood needs attention | Upper range |
| Aluminum | Strong and slim sightlines, but conducts cold and can be prone to condensation without thermal breaks | Low, but corrosion resistance depends on finish quality near salt air | Varies widely |
For most Edgemoor new builds, we steer homeowners toward vinyl or fiberglass for the best combination of moisture performance and low upkeep, and we're upfront about where wood-clad or aluminum products need extra flashing attention or higher-grade hardware to hold up this close to the water. This is a professional trade-off conversation, not a knock on any manufacturer — every material has conditions it handles better or worse.
Our New-Construction Window Installation Process
- Plan review and window schedule confirmation — we verify rough opening sizes against actual ordered units before framing locks in, catching mismatches before they become change orders.
- Rough opening prep — squaring, shimming point verification, and sill pan flashing installed with proper slope and end dams.
- WRB integration — weather-resistive barrier sequenced correctly around the opening so it laps with the window flashing rather than fighting it.
- Window setting — unit set plumb, level, and square, fastened per manufacturer specification, with shim placement that won't distort the frame or bind the sash.
- Head and side flashing — completed and integrated with the WRB above and beside the unit.
- Insulation and air sealing — low-expansion foam or backer rod and sealant around the frame perimeter, avoiding over-packing that can bow vinyl frames.
- Interior and exterior trim — sealed and finished to manufacturer and code requirements.
- Final function and water-test check — every window opens, closes, and locks correctly before we call the job done.
Performance Features Worth Specifying in This Climate
Not every upgrade is worth paying for, but a few features consistently earn their keep on Whatcom County new builds:
- Low-E glass coatings tuned for our climate — help with both winter heat retention and summer glare without over-darkening interiors
- Argon or krypton gas fill between panes for better insulating performance
- Warm-edge spacer systems, which reduce condensation risk at the glass edge during cold, damp stretches
- Corrosion-resistant hardware and fasteners, especially on elevations facing the water or prevailing wind
- Properly sized weep holes and drainage paths that won't clog with debris or moss growth over time
We'll walk through which of these make sense for your specific elevations and budget rather than upselling a standard package across the whole house — a north-facing shaded wall and a south-facing sunny one don't always need the same spec.
Mistakes We See (and Correct) on New-Construction Window Jobs
Most window problems we get called to fix on newer homes trace back to a handful of avoidable errors during the original install:
- Sill pans skipped or installed flat instead of sloped, so trapped water has nowhere to drain
- Window flashing installed behind the WRB instead of properly lapped in sequence, defeating the drainage plane
- Rough openings cut oversized "to make it easier," then packed with too much shim and sealant instead of framed correctly
- Fasteners or hardware not rated for coastal exposure, leading to early corrosion and streaking
- Interior and exterior sealant used to compensate for a flashing detail that wasn't done right underneath
Every one of these is preventable with correct sequencing the first time — which is exactly why the crew doing your rough openings and flashing matters as much as the window brand you choose.
Why Hiring a Crew That Already Works in Edgemoor Matters
A window installer who mostly works drier, more inland jobs isn't necessarily doing anything wrong — they're just solving a different problem than the one your Edgemoor build presents. Crews familiar with this neighborhood and the broader Bellingham waterfront know which elevations tend to take the worst of the driving rain, where moss and shade cause the most trouble, and how Whatcom County's inspection process and building code expectations apply to new-construction window installs specifically. That local pattern recognition is hard to replace with a generic install checklist, no matter how good the checklist is.
We also coordinate directly with builders and framers on new-construction timelines, so window rough openings, flashing, and trim happen in the right order the first time — not as a rushed fix after siding is already up.
Let's Talk About Your New Build
If you're framing a new home or addition in Edgemoor and want windows specified and installed to actually hold up to this stretch of coast, we're glad to walk the plans with you. Reach out for a free, no-pressure estimate — use the form below to get started.