 Bellingham
 Building New in Puget Means One Chance to Get the Window Install Right
Puget sits close enough to the water and the weather patterns that come off it that window installation on a new build isn't a task you want handled as an afterthought by whoever happens to be on site that week. On a remodel or replacement job, a bad window install shows up as a leak you can point to and fix. On new construction, a bad window install gets buried behind siding, trim, and insulation before anyone notices — and by the time water shows up on a windowsill or inside a wall cavity, the damage is already sitting there rotting sheathing and framing you can't see. We treat new-construction window work as its own discipline, not a smaller version of replacement work, because the sequencing, the materials, and the tolerances are genuinely different.
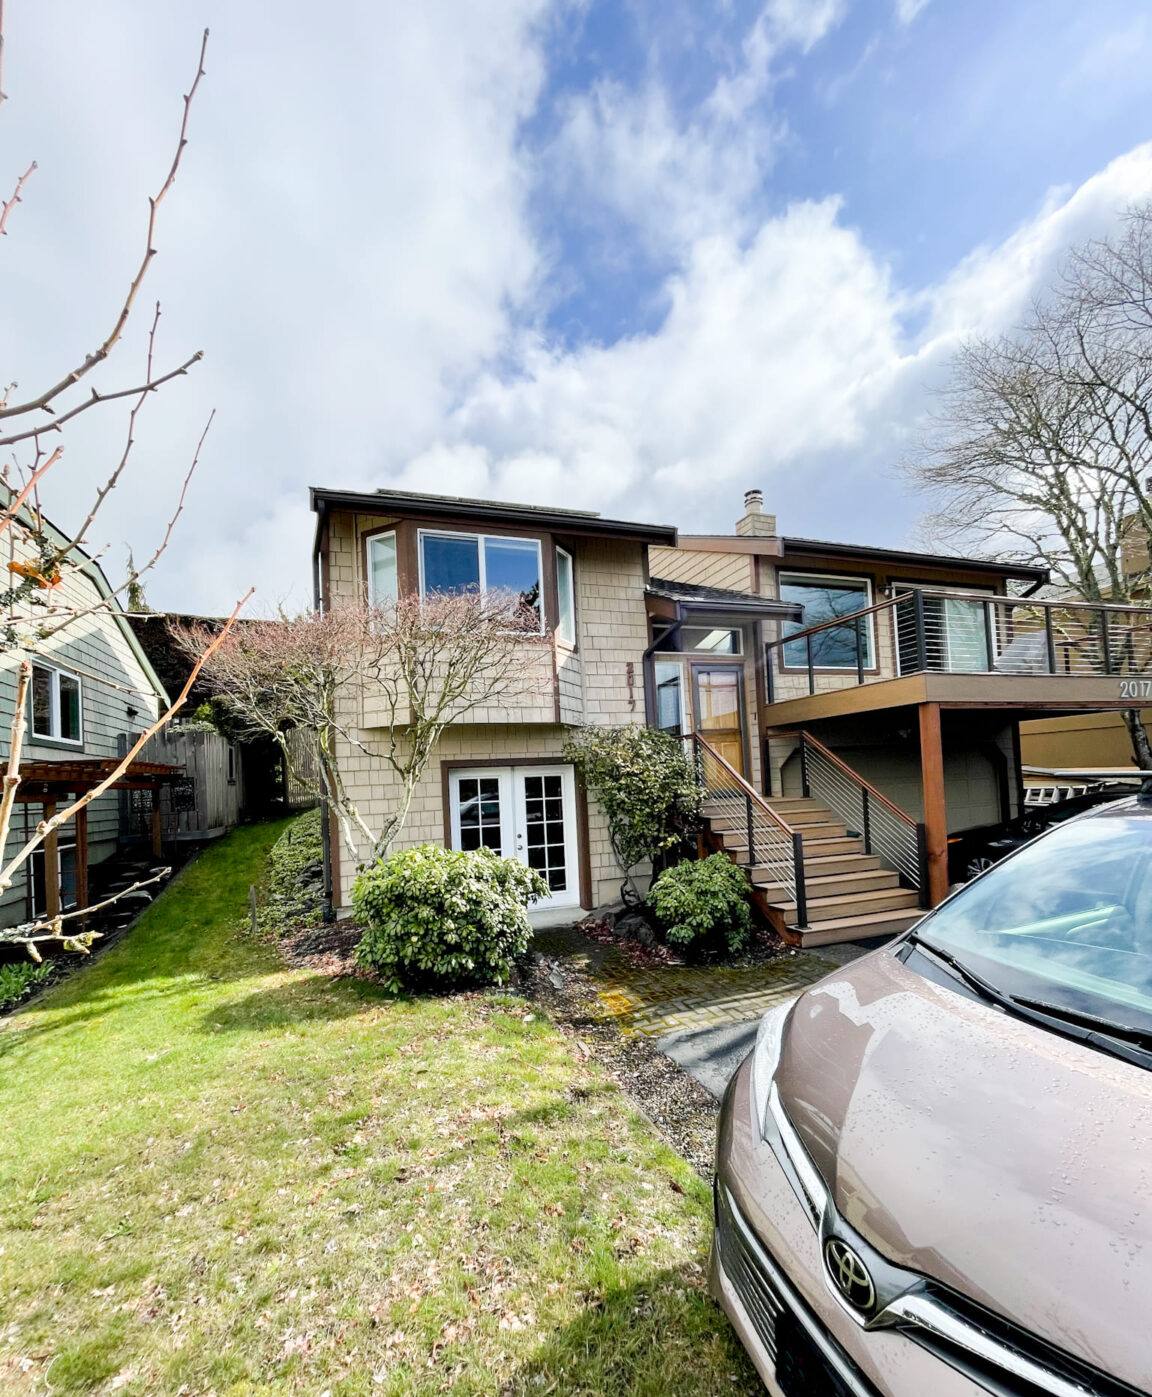
What Bellingham's Climate Does to a New Window Install
Whatcom County weather is not dramatic, but it is relentless. That's the part new-construction crews from outside the area sometimes underestimate. A window opening in Puget doesn't get hit with one hard storm a year — it gets months of low-intensity, wind-driven rain that finds every gap a flashing detail left open, repeated over and over until something gives.
Driving Rain and Wind-Loading
Storms off the Sound and the Strait tend to arrive with wind, which pushes rain sideways into wall assemblies instead of letting it run straight down and off. That means a window's weather resistance depends far more on how it's flashed and integrated into the wall than on the window unit itself. A premium window with a sloppy sill pan will leak before a mid-grade window installed correctly.
Salt Air and Corrosion
Proximity to marine air accelerates corrosion on fasteners, flashing tape adhesives, and unprotected metal trim. On new construction we get to choose corrosion-resistant fasteners and compatible flashing products from day one, which is a real advantage over retrofitting a window that was installed with the wrong hardware years ago.
Moss Season and Prolonged Dampness
Bellingham's long stretch of damp, low-sun months isn't just a roof and siding problem — it keeps window sills, sashes, and trim wet for extended periods with little drying time in between. Any assembly that traps moisture instead of shedding and draining it will eventually show rot, mildew staining, or failed seals well before it should.
What a Correct New-Construction Window Install Actually Involves
New-construction installation means the window goes into a bare rough opening before siding, so the entire water management system around the window gets built in layers, in a specific order. Skip a layer or do it out of sequence and the window may look fine for years while quietly failing behind the wall.
Rough Opening Prep
The opening has to be square, level, and sized correctly before anything else happens. We check for framing defects here, because it's far cheaper to correct a slightly out-of-square opening now than to fight it with shims and caulk after the window is set.
Sill Pan and Flashing
A sloped sill pan under the window is non-negotiable in this climate — it gives any water that gets past the window a way to drain back out instead of pooling on the sill. Jamb and head flashing then integrate with the weather-resistive barrier (WRB) in a specific shingle-lap order so water is always directed down and out, never trapped behind a layer above it.
Setting, Shimming, and Fastening
The window gets set plumb, level, and square, shimmed at the manufacturer's specified points (not just wherever is convenient), and fastened per the manufacturer's schedule. Over- or under-shimming can bind sashes or distort the frame enough to affect the seal over time.
Sealant and Trim
Backer rod and the correct sealant go at the right joints — not every seam, since over-sealing can trap moisture that needs to escape. Exterior trim is then installed to shed water away from the joint rather than direct it into it.
New Construction vs. Replacement: Why the Approach Differs
| Factor | New Construction Install | Replacement/Retrofit Install |
|---|---|---|
| Access to rough opening | Fully open, framing visible and correctable | Limited to the existing opening and finishes |
| Flashing integration | Built into WRB before siding goes on | Tied into existing wall assembly, often with more compromises |
| Sill pan installation | Straightforward, done before any finish work | Harder to add correctly without opening the wall |
| Sequencing with siding/trim | Coordinated as one continuous process | Must match and patch existing exterior finishes |
| Long-term risk if done wrong | Hidden behind new siding for years before symptoms show | Often shows leaks sooner due to less redundancy |
Our Process for New Builds in Puget
- Review the window schedule and rough opening dimensions against the actual framing before delivery, catching sizing conflicts early.
- Inspect and correct rough openings — square, plumb, and properly blocked — before any window goes in.
- Install sloped sill pans and integrate head/jamb flashing with the WRB in proper shingle-lap sequence.
- Set windows plumb, level, and square with manufacturer-specified shimming and fastening.
- Apply sealant only at the joints designed to be sealed, leaving drainage paths open where they need to stay open.
- Coordinate directly with the siding and trim crew (often us, on the same job) so the exterior water management stays continuous with no gaps at the transitions.
- Walk every opening before siding closes it in — this is the last point where a mistake is cheap to fix.
Quality Checks We Run Before Siding Goes On
- Every sill pan slopes outward and drains freely — no flat spots or reverse pitch.
- Flashing laps in the correct shingle order with no reverse laps that could funnel water inward.
- Windows operate smoothly after installation — a hard-to-open sash often means a racked frame from over-shimming.
- Fasteners and flashing tape are corrosion- and adhesion-rated for coastal, high-moisture exposure.
- Sealant joints are placed only where the window manufacturer's instructions call for them.
- WRB laps correctly over the flashing, maintaining a continuous drainage plane down to the foundation.
Window Types and Materials That Hold Up Here
The window unit itself matters less than the install, but material choice still affects long-term performance in a wet, salt-touched climate.
| Material | Strengths in This Climate | Trade-offs to Know |
|---|---|---|
| Vinyl | Won't rot, low maintenance, good value | Frame flexes more in temperature swings; quality varies widely by manufacturer |
| Fiberglass | Very stable dimensionally, holds paint well, strong moisture resistance | Higher upfront cost than vinyl |
| Wood-clad (exterior clad) | Warm interior look, good performance when detailed correctly | Exterior cladding and sealant joints need correct detailing to keep moisture out of the wood core |
| Bare wood exterior | Traditional appearance | Highest maintenance burden in a marine, high-moisture climate like ours — we generally steer clients away from this for exterior-facing units unless there's a strong design reason |
We don't push one brand over another as a sales tactic. What we do insist on is a unit with a documented, verifiable installation instruction set, because a flashing detail we can't confirm is a detail we can't warranty.
Common Mistakes We See on New-Construction Window Jobs
- Sealant used as a substitute for proper flashing instead of a supplement to it.
- Sill pans skipped or installed flat instead of sloped.
- Reverse-lapped flashing that channels water toward the framing instead of away from it.
- Windows fastened before the opening was checked for square, leading to binding sashes and stressed seals.
- Trim installed tight against the siding with no capillary break, letting moisture wick into the assembly.
None of these mistakes are visible on move-in day. They show up two, five, or ten years later as staining, soft trim, or a musty smell near a window — long after the crew that made the mistake has moved on to the next job.
Why Hiring a Crew That Already Works in Puget Matters
General window installation knowledge gets you most of the way there, but there's a difference between a crew that's read the manufacturer's instructions once and a crew that has installed windows through several wet seasons in this specific part of Whatcom County. We know which details need extra attention here — the sill pan slope, the flashing tape's cold-weather adhesion, the corrosion resistance on fasteners — because we've seen what happens locally when those details get shortcut. That's not a claim about talent; it's a claim about local repetition, and it's the reason we coordinate window install and siding as one continuous scope rather than handing the window off to a separate trade and hoping the transitions line up.
What Affects the Cost
Costs vary based on the number and size of openings, window material and glazing package, and how the window scope is coordinated with siding and trim. Broadly, expect new-construction window packages to range from a modest per-opening cost for straightforward vinyl units up into a considerably higher range for larger fiberglass or clad units with complex trim details. The install labor itself is a smaller swing between materials than most homeowners expect — the real cost driver is usually opening count, size, and trim complexity, not brand name alone.
Factors That Move the Price
- Number of window openings and their total square footage.
- Material and glazing performance package (standard vs. higher solar or thermal ratings).
- Trim complexity — simple flat trim vs. detailed exterior casing.
- Whether window install is bundled with siding or scheduled as a separate trade.
If you're planning a new build or addition in Puget and want the window install treated as part of the wall's overall weather protection rather than a separate line item, we're glad to walk the plans with you and put together a free, no-pressure estimate — the request form below gets you started.