 Bellingham
 New-Construction Windows in Barkley: Getting the Envelope Right From the Start
Barkley sits inside the same demanding weather pattern that shapes exterior work across Whatcom County: salt-tinged marine air, driving rain that comes in sideways as often as it falls straight down, and a moss and mildew season that runs far longer here than in drier parts of the state. That combination is hard on any home's exterior, but it's especially unforgiving on windows, because a window opening is where the wall assembly has the most seams, the most transitions between materials, and the most opportunities for water to find a path inside if it isn't detailed correctly the first time.
New-construction windows are a different animal from a replacement window dropped into an existing frame. They're the right product when you're building new, adding on, or tearing a wall down to the studs during a full re-side — situations where the window can be integrated directly into the weather-resistive barrier and siding as one continuous system rather than fitted into an opening that already exists. Done correctly, that gives a Barkley home one of the strongest defenses against this climate's combination of salt, wind-driven rain, and sustained dampness. Done poorly, it can just as easily become the source of a moisture problem that doesn't show up until years later.
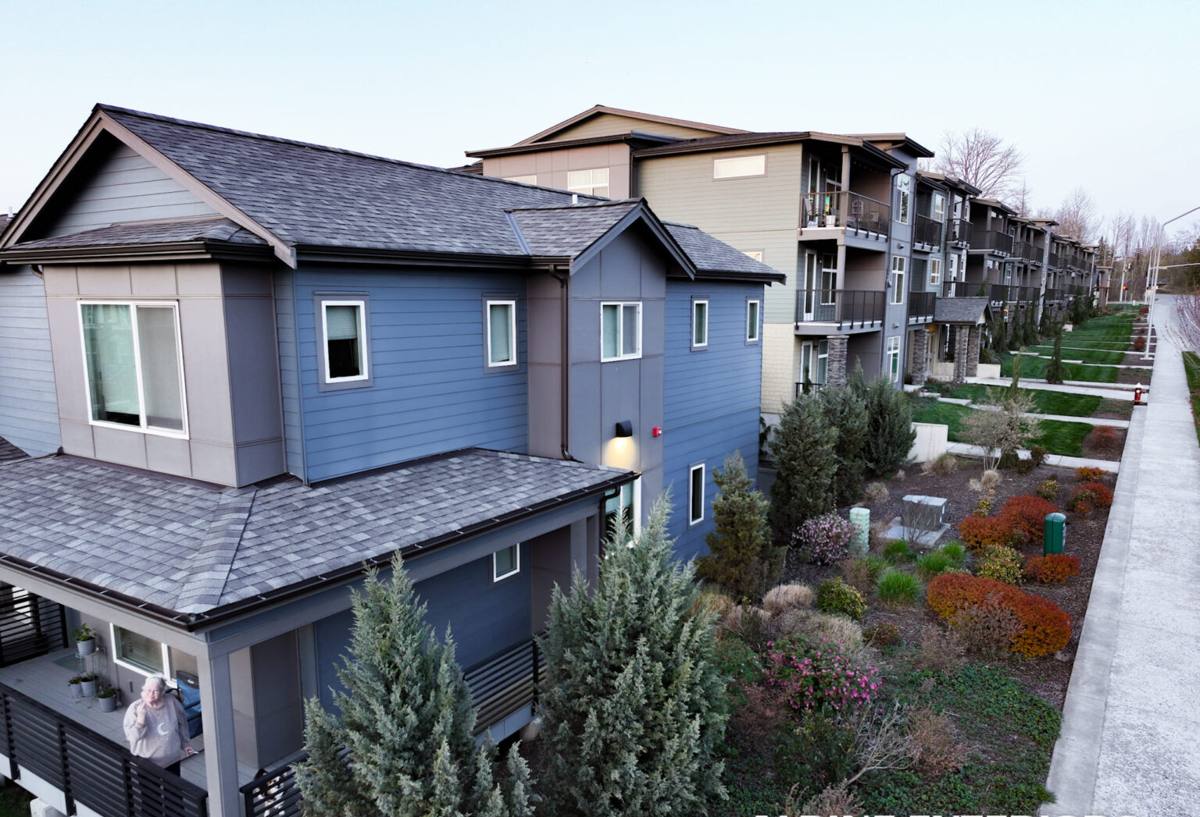
New-Construction vs. Replacement: Why the Distinction Matters
A lot of homeowners use "new windows" as a catch-all phrase, but the two approaches are built and installed in fundamentally different ways, and picking the wrong one for the situation causes real problems.
New-Construction (Flanged) Windows
These windows have a nailing flange around the perimeter of the frame that gets fastened directly to the wall sheathing, then integrated into the weather-resistive barrier and flashing before siding goes over the top. Because the flange becomes part of the drainage plane itself, this approach gives the most direct, continuous water management of any window installation method — but it requires the wall to be open, which means it's only practical for new builds, additions, or a project where the existing siding is already coming off.
Replacement (Retrofit) Windows
These are built without a nailing flange and are designed to fit into an existing frame with the surrounding siding and trim left in place. That makes them far less invasive for a standalone window swap, but the water management depends entirely on sealant, existing flashing condition, and careful fit rather than a flange tied into a fresh weather barrier.
Neither approach is inherently better — they solve different problems. The mistake is using a replacement-style installation on a wall that's already open, or trying to force a flanged window into an installation where the siding isn't coming off. We evaluate the actual condition of the wall and the scope of the project before recommending which approach fits.
What Barkley's Climate Demands From a New-Construction Window Install
Salt Air and Hardware Longevity
Marine air carries enough salt this close to the water to accelerate corrosion on lower-grade hardware, screen frames, and exposed fasteners over time. On a new-construction install, that means specifying corrosion-resistant fasteners and hardware finishes up front, since the flange and fasteners become inaccessible once siding closes over them.
Driving Rain and Flashing Sequence
Wind-driven rain doesn't respect a simple caulk bead. It gets forced sideways into laps and seams that a calmer climate wouldn't test nearly as hard. On a flanged window, the flashing sequence — sill pan first, side flanges lapped over the pan, head flashing lapped over the weather barrier above — has to be built in the correct shingle-style order so water is always directed down and out, never trapped behind the siding. Get that sequence backward at even one window, and it's the kind of mistake that can go unnoticed for years while doing quiet damage inside the wall.
Moss, Mildew, and Sustained Dampness
Shaded elevations and north-facing walls stay damp longer here across fall, winter, and much of spring, which is exactly the condition moss and mildew need to take hold. Around windows specifically, sustained dampness at the sill and lower corners is where wood-based components soften and rot first if the drainage detail isn't right. A correctly flashed sill pan with a slight outward slope is one of the simplest, most important details for keeping that moisture moving out instead of sitting against the frame.
What a Correct New-Construction Window Installation Involves
The window unit itself matters, but in this climate the installation detail is what actually determines whether it performs for one wet winter or several decades. A correct install includes:
- A sloped sill pan installed before the window ever goes in, so any water that gets past the frame drains back out rather than pooling against the sheathing
- Weather-resistive barrier lapped correctly above and around the rough opening, tied into the window flange in proper shingle-style order
- Head flashing installed last and lapped over the barrier above it, never tucked underneath in a way that traps water behind the siding
- Corrosion-resistant fasteners spaced and set to the manufacturer's specification, not just "enough to hold it"
- Backer rod and sealant used at the right joints as a secondary defense, not as a substitute for correct flashing
- Proper shimming and squaring so the sash operates smoothly and the seal around the frame stays consistent over time
Every one of these steps gets covered by siding once the job is finished, which is exactly why it has to be done right the first time. A window that looks perfect on install day can still leak for years if the flashing sequence underneath was wrong.
Our Process for New-Construction Window Projects in Barkley
We start with a walkthrough of the project — whether that's a new build, an addition, or a full re-side where the wall is already opening up — and talk through window placement, sizing, and how each opening will tie into the siding and roofline around it. From there we handle the rough opening prep, sill pan and flashing installation, window setting and shimming, and final integration with the weather barrier and siding, all sequenced so water management stays continuous from the roofline down. We also handle the siding, roofing, and decking on the same property when that's part of the scope, since a window installed correctly still depends on the siding and flashing around it being installed correctly too. Treating the wall as one connected system, rather than a window contractor and a siding contractor working past each other, is what actually protects the investment.
New-Construction Windows: Cost and Material Factors
| Factor | Why It Matters in Barkley |
|---|---|
| Frame material (vinyl, fiberglass, wood-clad) | Affects long-term dimensional stability and moisture resistance under sustained damp conditions |
| Glass package (low-E coating, gas fill) | Improves comfort and reduces interior condensation common in a cool, damp marine climate |
| Number and size of openings | Drives material cost and installation labor more than any single product choice |
| Flashing and sill pan detailing | The single biggest factor in whether the installation actually keeps water out long-term |
| Wall orientation and exposure | South and west-facing walls typically take more direct wind-driven rain and need extra attention at flashing laps |
| Lead time on custom sizing | Windows built to a specific rough opening can take several weeks to arrive, which affects project scheduling |
A Checklist Before Hiring for New-Construction Window Work
- Ask specifically how they sequence sill pan, weather barrier, and flashing — not just what window brand they install
- Confirm current Washington state contractor licensing and active liability insurance
- Get a written scope that separates the window manufacturer's product warranty from the contractor's installation warranty
- Ask how window openings will be coordinated with the siding and roofing trades on the same project
- Confirm lead times on ordering, since custom-sized new-construction windows often take several weeks
- Ask to see how they handle a wall section that's already open — a straightforward answer is a good sign of real experience
Why a Local Crew Matters for This Work in Barkley
A crew that installs windows and siding across Whatcom County regularly starts to recognize how this specific climate behaves from one property to the next — which wall orientations take the heaviest wind-driven rain, where moss and dampness set in first, and how much margin to build into flashing laps so a normal wet season doesn't become a problem. Those aren't things that show up in a manufacturer's installation manual; they're judgment calls that come from doing this work in this climate, repeatedly, over time. A generic out-of-area crew can install a window that looks correct on the surface without necessarily building in the extra margin this much sustained moisture actually calls for.
Ready to Talk Through Your Project
Whether you're planning a new build, an addition, or a full re-side that opens up the walls, getting the window installation detail right from the start is far easier — and far cheaper — than fixing a hidden moisture problem years later. If you're working on a Barkley-area project and want an honest look at what new-construction windows would involve for your home, reach out using the form below for a free, no-pressure estimate.