 Bellingham
 Siding Installation in Lynden: The Install Matters as Much as the Material
Choosing a siding product is only half the decision. The other half — the one homeowners have less visibility into — is how that product actually goes on the wall. Two houses in Lynden can have the exact same James Hardie fiber cement siding on them and age completely differently, because one was installed to spec and the other wasn't. Fastener placement, clearances, weather-resistive barrier detailing, and how joints and field cuts get sealed all matter more in this climate than they would somewhere dry and mild, because Whatcom County's salt air, wind-driven rain, and long moss season punish any installation shortcut faster than a milder climate would.
This page is specifically about the installation side of siding work for Lynden properties: what a correct job actually involves, how our process runs from first walkthrough to final inspection, and why the install itself — not just the brand on the product label — is what determines whether a siding system holds up for its intended service life. We install James Hardie fiber cement exclusively, and everything below is written around installing that system correctly in this specific climate.
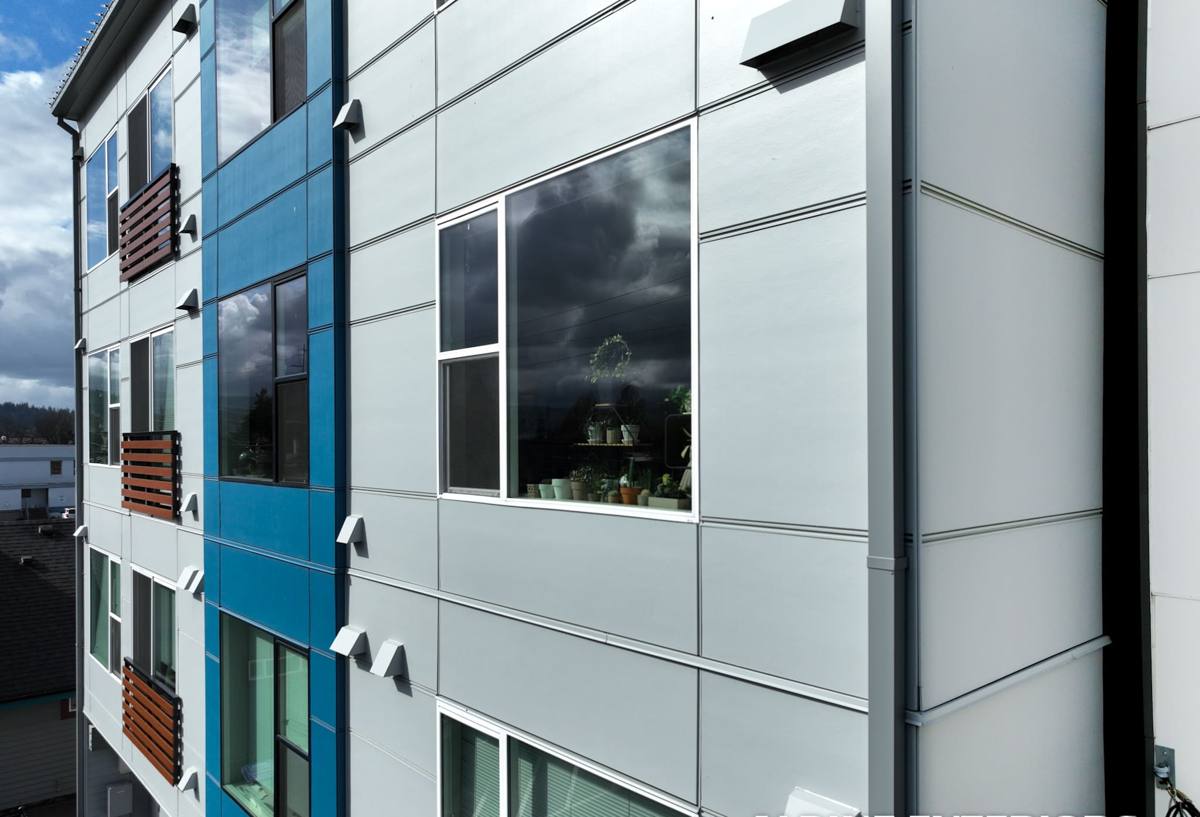
What Lynden's Climate Demands From an Installation
Salt Air Working on Fasteners and Trim
Lynden sits inland from the immediate Whatcom County shoreline, but marine air still moves across this part of the county and works on exposed metal over time. An installation that uses the wrong fastener grade, or that leaves trim hardware more exposed than it needs to be, is setting up a slow corrosion problem that shows up as staining and eventual hardware failure years down the road — a problem that traces back to install-day choices, not the siding material itself.
Driving Rain That Doesn't Fall Straight Down
Rain through the fall and winter months in this region routinely arrives sideways, pushed by wind into wall assemblies, window flashing, and the horizontal joints between courses of siding. An installation built around the assumption that water only comes from above will eventually let that sideways-driven rain behind the cladding. This is the single biggest reason installation detail matters more here than in a drier climate — the water is actively looking for a way in.
A Moss Season That Runs Most of the Year
Mild temperatures, tree cover, and near-constant moisture give moss and mildew a long growing window on shaded or north-facing walls. Installation choices affect this directly: proper clearances above grade, correct spacing at inside corners, and adequate ventilation behind the cladding all influence how fast a wall dries out after a wet stretch. A wall that stays damp longer than it needs to becomes a growth surface faster, regardless of how good the siding material is on paper.
What a Correct James Hardie Installation Actually Involves
James Hardie publishes detailed installation specifications for its fiber cement products, and the manufacturer's warranty is tied to following them. That's not a formality — the specs exist because fiber cement behaves differently from wood-based or vinyl siding, and installing it like either of those products is one of the most common sources of early failure. A correct installation covers several specific areas:
- Fastener type, spacing, and placement: Corrosion-resistant fasteners, driven at the manufacturer's specified spacing and distance from panel edges, set correctly rather than overdriven or underdriven.
- Clearance above grade, roofing, and decking: Hardie specifies minimum clearances between the bottom of the siding and abutting surfaces like grade, roofing, and deck ledgers, so water has somewhere to go instead of wicking straight into the bottom edge of the panel.
- Weather-resistive barrier and flashing sequencing: House wrap, window and door flashing, and every wall penetration need to be layered correctly — each layer overlapping the one below it — so water drains down and out rather than getting trapped behind the siding.
- Joint and field-cut treatment: Factory edges are sealed at the mill; field cuts made on site expose raw material that needs to be primed and sealed before installation, or moisture wicks straight into the cut edge.
- Panel and joint spacing: Fiber cement needs specific gaps at butt joints and around trim to allow for minor movement without cracking or trapping water.
- Caulking practice: Some joints in a Hardie system are designed to be sealed; others are designed to drain and should not be caulked shut. Getting this backwards traps moisture instead of releasing it.
Every one of these is a small, easy-to-rush detail on a busy job site, and every one of them is also invisible once the siding is finished and painted. That combination — high consequence, low visibility — is exactly why installation quality depends so heavily on who's doing the work and how much attention they give each of these steps rather than treating them as boxes to check.
Our Installation Process for a Lynden Home
Walkthrough and Estimate
We start by walking the property, looking at current siding condition, checking for signs of trapped moisture or existing sheathing damage, and noting how sun, shade, and wind exposure differ across the home's walls. That walkthrough is what drives the estimate — a number built around the specific house, not a flat per-square-foot figure.
Tear-Off and Substrate Inspection
Once the old siding comes off, we inspect the sheathing underneath before anything new goes up. This is a step that's easy for a less careful crew to skip, because covering damaged sheathing with new siding hides the problem instead of fixing it. Any soft or rotted sheathing gets repaired before installation continues, so the new siding isn't fastened to a compromised substrate.
Weather-Resistive Barrier and Flashing
This is the layer that does the most work and gets the least credit, because it's completely covered once the siding goes up. House wrap gets installed and lapped correctly, window and door openings get flashed in the proper sequence, and every penetration — vents, hose bibs, electrical fixtures — gets sealed and flashed individually rather than caulked over as an afterthought.
Panel Installation to Manufacturer Spec
Siding goes up following Hardie's published fastening pattern, clearances, and joint spacing. Field cuts get primed and sealed before they go on the wall. Where trim, corners, and transitions require it, we follow the manufacturer's detailing rather than improvising a faster method that looks similar but doesn't perform the same over time.
Trim, Caulking, and Paint Touch-Up
Trim boards, corner boards, and any field-painted elements get finished once panels are set. ColorPlus-finished panels arrive with their color baked on at the factory, which limits how much field painting is actually needed — but cut edges, trim, and any touch-up work still get proper attention at this stage.
Final Walkthrough
We walk the completed job with the homeowner, point out anything worth knowing for long-term care, and confirm the finished work matches what was estimated. Questions about warranty registration or maintenance expectations get answered here, not left for a follow-up call.
Installation Mistakes That Cause Early Failures
Most premature siding failures we see on inspection don't trace back to the material — they trace back to how it was installed. The table below covers the mistakes that show up most often and what correct practice looks like instead.
| Installation Shortcut | What Correct Practice Looks Like Instead |
|---|---|
| Fasteners driven too tight or into panel edges | Fasteners set flush, at proper spacing and distance from edges, per manufacturer spec |
| Siding installed with no clearance above grade or roofing | Minimum clearance maintained so water drains away instead of wicking into the panel |
| Raw field cuts left unsealed | Cut edges primed and sealed before installation |
| House wrap and flashing layered out of sequence | Each layer overlapping the one below so water sheds outward, not inward |
| Drainage joints caulked shut | Joints sealed only where the manufacturer specifies, drainage paths left open elsewhere |
| Panels butted tight with no expansion gap | Proper joint spacing maintained to allow for minor material movement |
Why These Mistakes Are Hard to Catch After the Fact
Nearly every item on that list is buried behind the finished siding once the job wraps up. A homeowner looking at a freshly installed wall can't see the fastener pattern, the flashing sequence, or whether a field cut was sealed before it went up. That's exactly why the contractor's actual installation habits — not just their sales pitch — are what determine how the house performs five, ten, and twenty years out.
Timing an Installation Around Lynden's Weather
Whatcom County's wet season runs long, and installation quality suffers when siding, house wrap, or exposed sheathing gets rained on repeatedly during the process. We plan installation timing around realistic weather windows rather than pushing a job through regardless of forecast, and we sequence work so that open wall sections aren't left exposed longer than necessary. Fiber cement can be installed across a wider range of conditions than some materials, but the underlying weather-resistive barrier and sheathing still need reasonably dry conditions to go in correctly. Rushing that step to hit a deadline is one more way a technically sound product ends up in a compromised wall assembly.
How Installation Quality Connects to the James Hardie Warranty
James Hardie's product warranty is conditioned on installation following their published specifications. That means an installation error — even a small one, like incorrect fastener spacing or a missed clearance — can affect warranty coverage down the line, independent of whether the siding material itself was defective. We treat installing to spec as the baseline standard on every job, not as an extra step, because it's the only way the warranty a homeowner is paying for actually means something if it's ever needed.
What to Expect From a Professional Installation
- A written estimate based on an actual walkthrough of the property, not a generic square-footage quote
- Sheathing inspected and any damage addressed before new siding goes up
- House wrap and flashing installed in the correct overlapping sequence
- Fasteners set to manufacturer spacing, not simply "close enough"
- Field cuts primed and sealed before installation, not left raw
- Proper clearance maintained above grade, roofing, and decking
- A final walkthrough where the finished work is explained, not just handed over
Permitting and Local Requirements
Full siding replacement in Whatcom County jurisdictions typically requires a permit, and requirements can vary depending on the scope of work and whether other systems — windows, structural sheathing — are being touched at the same time. We handle the permitting process as part of the project rather than leaving a homeowner to sort out which forms apply to their specific job.
Why a Local Installation Crew Matters for This Job Specifically
Installation quality isn't abstract — it's a function of how much a crew actually understands the conditions a wall will face after they leave. Working out of Custer means we're on Whatcom County job sites through every season, not just when the weather is easy. That ongoing exposure shapes real installation decisions: which wall orientations on a Lynden property tend to stay wet longest, where extra flashing attention is worth the time, and which manufacturer details matter most given how this specific region's rain and moss season behave. A crew installing siding here for the first time is learning those lessons on someone's house. A crew that's already installed and later inspected its own work across this climate isn't guessing.
It also means that years after a project wraps up, a warranty question or a maintenance concern is a call to a crew still working in the same area — not a company that finished a season here and moved on to the next region.
If you're planning a siding installation for a Lynden home, we're glad to walk the property and put together a straightforward, no-pressure estimate that explains exactly what the job involves. Reach out using the form below to get started.