 Bellingham
 Building New in Sehome? The Windows Are Where Most Problems Start
Sehome sits close enough to Bellingham Bay that salt-laden air, wind-driven rain, and a long gray moss season are just part of owning a home here. If you're framing a new house or a major addition in this neighborhood, the window install is one of the few construction steps that determines whether your walls stay dry for the next 30 years or start hiding rot behind the drywall in year six. New-construction windows aren't just "bigger and nicer than a retrofit" — they're a completely different installation method, tied directly into the house wrap, flashing, and framing before siding ever goes up. Get that sequence wrong and no amount of good siding work afterward will save you.
We install new-construction windows on Bellingham-area builds regularly, and Sehome's mix of older lots being redeveloped and newer infill construction means we see both tight urban setbacks and standard suburban framing in the same few blocks. The climate math doesn't change either way: Whatcom County gets sustained wet-season rain, occasional windstorms off the Strait, and enough moisture in the air year-round that any gap in a window's water management plan eventually shows up as a stain, a soft spot, or a mold smell.
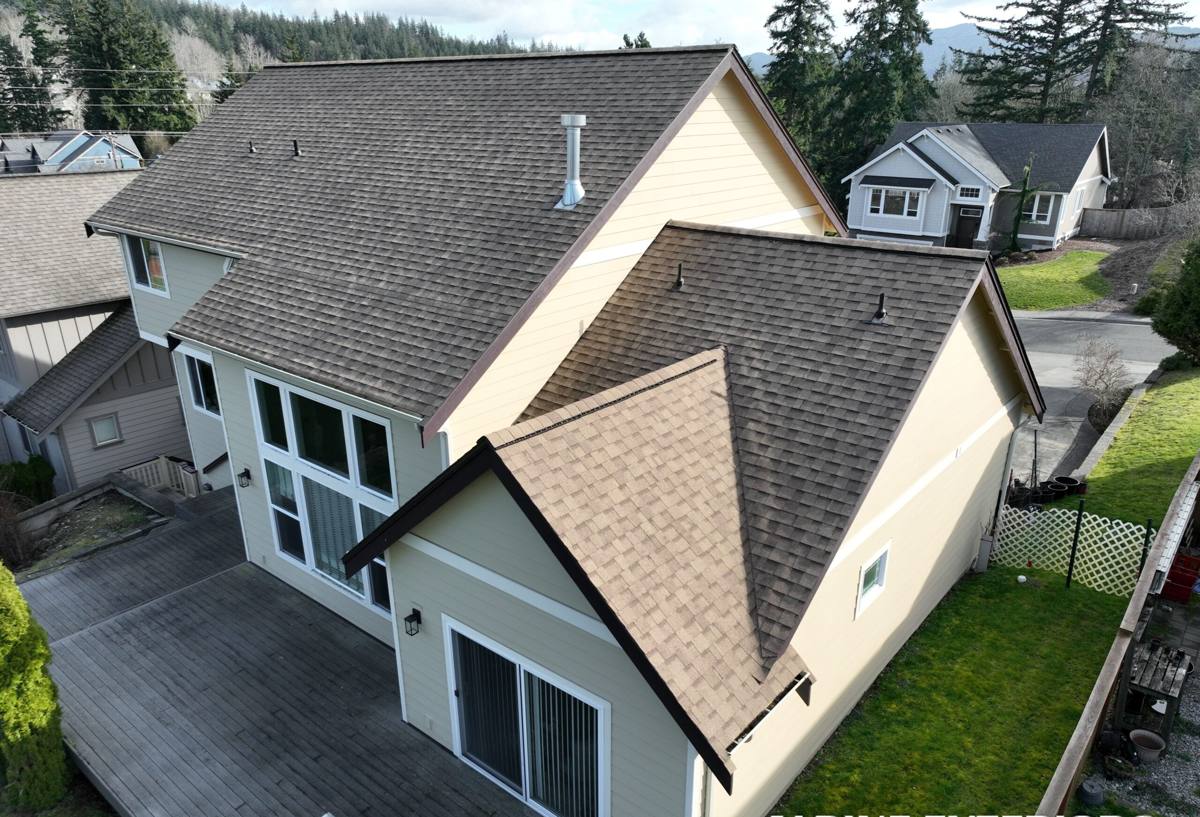
Why New-Construction Windows Are a Different Job Than Replacement
New-construction windows have a nailing flange around the perimeter that gets fastened directly to the wall sheathing, then integrated into the weather-resistive barrier with a specific layering of flashing tape and house wrap. This is only possible when the wall is open — which is exactly the situation on a new build or a gut-level addition. It's a better long-term system than a retrofit "pocket" window because the flashing is continuous and inspectable during rough-in, rather than hidden and hoped-for.
What Makes the Install "Correct" in This Climate
- Sill pan flashing under every window opening, sloped to drain outward — this is the single most important detail in a wet climate like ours
- Flashing tape applied in the right shingle-lap order (sill, then jambs, then head) so water always sheds down and out, never into a seam
- A back-dam or sloped sill so bulk water can't pool against the bottom of the frame
- Proper flange fastening pattern per the manufacturer's instructions — not just "enough screws to hold it"
- Continuous house wrap integration with no reverse-lapped seams above the window head
- Interior air-sealing with low-expansion foam or backer rod and sealant, separate from the exterior water management
Skip any one of these and the window can still look fine — and pass a casual glance — while quietly letting moisture into the wall cavity every time it rains sideways off the bay.
What Sehome's Microclimate Actually Does to a Window Install
Sehome isn't oceanfront, but it's close enough to Bellingham Bay that salt air reaches the neighborhood, especially on windier days. Salt air accelerates corrosion on unprotected fasteners and lower-grade hardware, which is one reason we pay attention to the fastener and flashing materials we spec, not just the window unit itself. Combine that with Whatcom County's driving rain — rain that comes in at an angle, not straight down — and you get wind-driven water testing every horizontal seam on a house, especially window heads and sills.
Then there's moss season, which in this part of Washington runs long. Moss and algae growth on north- and shade-facing walls holds moisture against the exterior finish for extended periods. That doesn't damage the window glazing directly, but it does mean the flashing and sealant details around the window need to perform under sustained damp conditions, not just occasional rain events. A flashing detail that would be "good enough" in a drier climate isn't good enough here.
Common Consequences of a Rushed Install
| Cut Corner | What Shows Up Later |
|---|---|
| No sill pan flashing | Water intrusion at the sill, staining or soft framing within a few wet seasons |
| Reverse-lapped house wrap at the head | Water tracks behind the wrap instead of over it, often invisible until siding is removed |
| Wrong fastener type for coastal exposure | Corrosion staining, weakened flange attachment over time |
| Gaps in tape at flange corners | Slow leaks that mimic condensation, hard to diagnose without opening the wall |
| Interior foam used as the only air/water seal | Interior humidity issues, no actual exterior water management |
How We Approach New-Construction Window Installs
1. Rough Opening Check
Before a window ever goes in, we verify the rough opening is square, plumb, and sized correctly per the manufacturer's spec — including the shim gap the window needs to perform properly. Framing tolerances vary crew to crew, and we'd rather catch an issue here than after the flange is fastened.
2. Sill Pan and Flashing Sequence
We install sill pan flashing sloped to the exterior, then set the window, then layer flashing tape at the jambs and head in the correct shingle-lap order so every layer sheds water onto the layer below it. This is the step that matters most for a Whatcom County build.
3. Fastening and Air-Sealing
The window is fastened per manufacturer spec — not over-driven, not under-driven, since either mistake can distort the frame and affect operation. Interior gaps get sealed with a low-expansion product appropriate to the window type, separate from the exterior weatherproofing.
4. Integration With House Wrap and Siding
We tie the window flashing into the house wrap before siding installation begins, so the whole wall assembly works as one continuous water-shedding system. This is also where we coordinate directly with the framing and siding schedule so nothing sits exposed to weather longer than it has to.
5. Final Check
Before we consider a window install complete, we check operation (smooth open/close, proper latching), visually confirm no visible gaps in flashing or sealant, and photograph the flashing sequence for our own records while the wall is still open — useful documentation if a warranty question ever comes up down the road.
What Local Homes Actually Need From a Window Package
New construction gives you the freedom to choose window performance specs up front, which matters in a climate that swings between damp winters and warm, increasingly smoky-hazy summers. A few things worth deciding early with your contractor:
- Glazing package: double-pane low-E glass is standard for this climate; triple-pane adds cost but can be worth it on north- and west-facing walls that take the worst of the wind and rain
- Frame material: vinyl, fiberglass, and clad-wood all perform differently in coastal, moist air — we'll walk through the maintenance and longevity trade-offs for your specific exposure
- Operable style: casement windows generally seal tighter against wind-driven rain than sliders, which matters on walls facing the water or open exposure
- Flashing and tape compatibility: not all flashing tapes bond equally well to every house wrap or sheathing type — this gets specified during planning, not improvised on site
Cost Factors for New-Construction Window Installs
| Factor | Why It Moves the Price |
|---|---|
| Number and size of openings | More openings and larger units mean more flashing, labor, and material |
| Frame material chosen | Vinyl, fiberglass, and clad-wood carry different unit costs and install labor |
| Glazing package | Double-pane vs. triple-pane, plus low-E and gas-fill options |
| Wall height and access | Second-story or vaulted openings take longer and may need staging |
| Coordination with framing/siding schedule | Tight sequencing on a build schedule can reduce exposure time and callbacks |
We'll always give you a straightforward number once we've seen the plans or the framed structure — broad estimates without seeing the actual openings tend to be wrong in one direction or the other.
Why Hire a Crew That Already Works Sehome
A window install that's technically correct on paper can still underperform if it isn't matched to what a specific site actually deals with — wind exposure, shade and moss buildup, proximity to the bay, and how a particular street or block tends to catch weather. Working in Bellingham and around Whatcom County regularly means we're not guessing at how a wall assembly will hold up here; we're applying the same flashing and sealing standards we've used on other builds in this same general climate, year after year. That consistency matters more with new-construction windows than almost any other exterior trade, because the flashing work gets buried the moment siding goes on — there's no easy do-over once the wall is closed up.
A Simple Pre-Install Checklist
- Confirm rough openings are framed to the correct size before ordering windows
- Choose glazing and frame material based on sun/wind exposure per wall, not a single spec for the whole house
- Verify sill pan flashing is part of the written install plan, not assumed
- Ask how flashing tape and house wrap compatibility was confirmed for your specific products
- Get the window and siding install sequenced together so openings aren't left exposed to rain longer than necessary
- Request photos of the flashing before siding covers it
If you're planning a new build or major addition in Sehome and want the window package specified and installed right the first time, we're happy to walk the plans with you and give you a straightforward, no-pressure estimate — just fill out the form below.