 Bellingham
 Siding Repair Looks Different in a Neighborhood Like York
York sits close enough to the water and the weather patterns that move through Whatcom County that its homes take a different kind of beating than houses twenty miles inland. Siding repair here isn't just patching a dent or replacing a cracked board — it's dealing with the cumulative effects of salt-laden air, driving rain that hits walls sideways during winter storms, and a moss season that can run eight months out of the year. A repair that doesn't account for those conditions tends to fail again within a season or two.
We work on siding throughout Bellingham, and York homes show a recognizable pattern: moisture damage concentrated on north- and west-facing walls, fastener corrosion in older installations, and paint or caulk failure well before the siding material itself gives out. Understanding that pattern is what separates a repair that lasts from one that's just cosmetic.
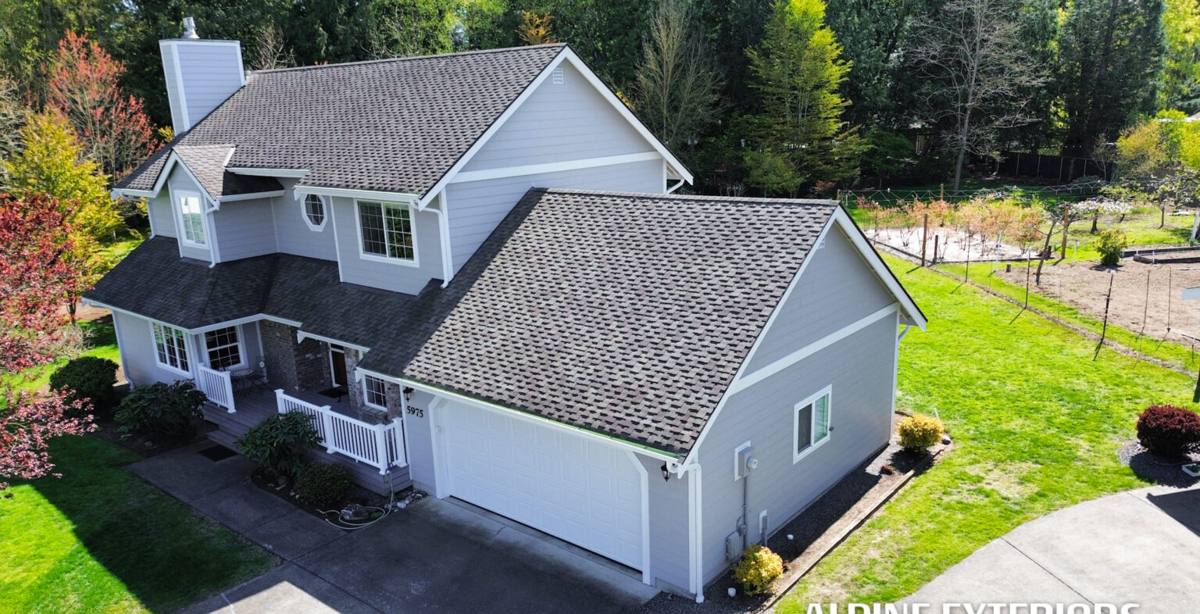
What Salt Air, Rain, and Moss Actually Do to Siding
Each of these three factors attacks siding in a distinct way, and most failures we see are a combination of two or three working together.
Salt Air
Proximity to Bellingham Bay means a steady low-level exposure to salt in the air, even away from the immediate shoreline. Salt accelerates corrosion in metal fasteners, flashing, and trim — and once a nail or staple starts rusting behind the siding, it stains the surface, loosens its grip, and creates a small gap where water can start working its way in.
Driving Rain
Whatcom County's winter storms don't just fall straight down — wind-driven rain gets pushed sideways into wall assemblies, which is why the most common failure point is not the flat face of a wall but the seams, corners, and butt joints where two pieces of siding meet. If those joints aren't sealed and lapped correctly, water finds its way behind the cladding.
Moss and Sustained Moisture
The long, damp stretch from fall through spring keeps north-facing and shaded walls wet for extended periods. That's ideal for moss and algae growth, which holds moisture against the siding surface far longer than it would otherwise sit there. For moisture-sensitive materials, that constant dampness is what eventually leads to swelling, delamination, or rot at the substrate.
Signs a York Home Needs Siding Repair
- Soft or spongy spots when you press on the siding, especially near the bottom courses or around window trim
- Visible rust streaks running down from nail heads or fasteners
- Cracked, buckled, or separated boards, particularly at corners and seams
- Paint that's peeling or bubbling in patches rather than fading evenly
- Persistent moss or dark staining that comes back within weeks of cleaning
- Gaps opening up at butt joints or where siding meets trim, window, or door casings
- A musty smell or visible staining on interior walls that share an exterior wall with damaged siding
Any one of these on its own might be minor. Several together, especially clustered on one wall, usually means water has been getting behind the siding for a while and the repair needs to address what's underneath, not just what's visible.
Repair or Replace? A Quick Comparison
| Situation | Repair usually makes sense | Replacement usually makes sense |
|---|---|---|
| Damage extent | Isolated to one wall or a handful of boards | Spread across multiple walls or the whole house |
| Siding age/material | Sound James Hardie or comparable material, still within useful life | Original material is aging out, discontinued, or a product we no longer service |
| Underlying structure | Sheathing and framing are dry and solid | Rot has reached the sheathing or framing in multiple spots |
| Color match | Replacement boards can be matched closely enough to blend in | Fading or discontinued colors make patch repairs visually obvious everywhere |
What a Correct Repair Actually Involves
A repair that holds up in this climate has to address more than the piece you can see is broken. That means:
Finding the Real Source
Damaged siding is often a symptom, not the root cause. Bad flashing above a window, a gutter that's overflowing onto the wall below, or a caulk joint that failed years ago can all cause damage that shows up on the siding itself. We trace the problem back before we start cutting anything out.
Checking What's Behind the Siding
Once boards come off, we look at the water-resistive barrier and sheathing underneath. If moisture has reached the sheathing, that gets addressed and allowed to dry — or replaced — before new siding goes back on. Covering wet sheathing with new siding just hides the problem for a while.
Matching Material and Fasteners Correctly
Repairs need boards from the same product line, profile, and — where possible — the same factory finish, so the patch doesn't stand out and doesn't perform differently than the surrounding siding. Fasteners matter too: corrosion-resistant nails installed to the manufacturer's spacing and depth requirements, not just whatever's closest to matching.
Sealing Joints the Way the System Requires
Every manufacturer has specific requirements for how joints, corners, and penetrations should be sealed and flashed. Skipping or shortcutting this step is the single most common reason a "repaired" section fails again within a year or two, especially on walls that catch driving rain directly.
Why the Underlying Product Matters for a Repair, Not Just a New Install
We install James Hardie fiber cement exclusively, and that standard shapes how we think about repairs too. Fiber cement doesn't absorb and swell with moisture the way wood-based products can, and it holds paint and factory finish far longer than materials that rely on field-applied coatings. When we're repairing existing Hardie siding, we're generally dealing with a fastener, flashing, or joint issue rather than the board itself failing structurally — which makes for a cleaner, more durable repair.
We don't install or repair vinyl, LP SmartSide, Cemplank, Allura, primed spruce, or cedar as our own product line, and we're upfront about why: each of those has real strengths, but each also comes with a moisture, maintenance, or installation-sensitivity trade-off that we've decided isn't worth carrying forward on new work in a climate like this one. On existing homes with those materials, we'll assess and give an honest opinion — sometimes a targeted repair is the right call, and sometimes the more durable long-term answer is a transition to Hardie, especially on a wall that's already showing repeat failures.
Our Process for a York Siding Repair
- On-site inspection — we walk the affected walls, check for moisture with a meter where needed, and look at flashing, gutters, and grading that might be contributing.
- Diagnosis and scope — we tell you plainly whether this is a contained repair or something that's likely to recur elsewhere, and why.
- Material sourcing — we source matching Hardie boards and ColorPlus finish where the existing siding is Hardie, or discuss options where it isn't.
- Repair work — removal of damaged sections, inspection and correction of what's underneath, proper flashing and sealing, and reinstallation to manufacturer spec.
- Cleanup and walkthrough — we clear debris and walk the repair with you so you know exactly what was done and why.
After the Repair: A Short Maintenance Checklist
- Rinse moss and algae off siding annually, especially on shaded or north-facing walls
- Keep gutters clear so overflow doesn't run down the wall behind the siding
- Trim back vegetation that keeps a wall shaded and damp longer than it needs to be
- Walk the exterior each fall and look for new gaps at joints, trim, or fastener heads
- Address small caulk failures right away — they're a five-minute fix before they become a repair
Cost Factors Worth Knowing Before You Call
We don't quote pricing without seeing the damage, but the honest range depends on a handful of factors:
| Factor | Why it matters |
|---|---|
| Amount of siding affected | A few boards versus a full wall changes labor and material scope significantly |
| Condition of sheathing underneath | Dry sheathing is a straightforward repair; rotted sheathing adds carpentry work |
| Access and wall height | Second-story or hard-to-reach walls take more time and equipment |
| Color and material matching | Discontinued colors or older product lines may need broader replacement to look right |
| Root cause repairs | Fixing the flashing, gutter, or drainage issue that caused the damage is part of doing it right |
Why a Crew That Already Works in York Matters
A contractor who's already worked on homes in this part of Bellingham has seen how the local exposure — salt air off the bay, the direction winter storms tend to come from, the walls that stay shaded and mossy longest — plays out on real houses, not just in general terms. That translates into faster, more accurate diagnosis: knowing to check a north wall's flashing first, or recognizing fastener corrosion for what it is instead of treating it as a one-off cosmetic issue. It also means fewer surprises once the siding comes off, because we've already seen what tends to be underneath it in homes of similar age and construction in this area.
If you've got a section of siding on your York home that's cracked, staining, holding moss, or just doesn't look right, we're happy to take a look. We offer a free, no-pressure estimate — we'll tell you honestly whether it's a contained repair, a sign of something bigger, or something in between, and what we'd recommend either way.